
Studio Set Up – Part 1 discusses the primary problem of finding a space suitable for bead making. In Part 2 of the Studio Set Up blogs, I assume that you have a space and you’re now pondering how best to get the room ready to install a torch. You might be questioning if having a lot of light is important or not when it comes to setting up a torch. Or you might be wondering what kind of torch to get, if so, then Part 2 will attempt to answer the question of what torch is right for you and give you some advice on lighting solutions for when you get that torch.

Where to position your torch
Depending on your eyesight and how you like to work you may want to work in a room that is lit by natural light. My torch is positioned in front of the pillar flanked by two windows. I like my studio light and bright after making the mistake with my first studio of working in a dark room with badly positioned lighting. My current studio has too much natural light in the mornings. When the sun is in my eyes I can’t torch, sometimes the light is so bright I can’t even see my flame and I have to work around those times. When you choose your space, grab a chair and position it about where you think your torch might be. Then spend a few minutes or so at different points of the day sitting in it to understand how the light moves in that space. Some things to consider are:
- Do I need to invest in blinds, UV laminate or lamps to get the right amount of light where I will be working?
- Will I need to put in power points near the work station for lamps or employ someone to install overhead lighting?
- Will my ventilation system have lights in it and what colour are the globes? (did you buy a kitchen rangehood for ventilation? they often have lights in them and they’re often yellow toned)
- The room doesn’t have a lot of natural light, do I have the spare cash in my budget to buy a lamp or change all the globes?
If the room you have chosen doesn’t have any natural light, then you may need to install more overhead lighting. Depending on your light, you may also find yourself changing light fittings for higher or lower wattages. If you aren’t getting enough light think about where the primary light sources are in your space.
- Will changing all the globes in your space to “daylight” globes give you some “natural” light?
- Make sure the only light source isn’t from behind you, it will cast shadows over your torch as your work.
- Avoid overly yellow or blue toned lighting, these colours radically affects how glass looks when melting. It also affects the colours in the flame and can lead to some “interesting” colour combinations or eye strain.
- Think about getting inexpensive L.E.D. clip on reading lights, L.E.D lighting can come in yellow or slightly blue tones, choose the slightly blue tones over the yellow. I use a clip light with slightly blue globes when I’m working nights, they are handy, but they will change the colour of some purple glass to blue.

Sometimes it’s quite hard to gauge how much light you will need until you have the torch running and you’re making beads. Think back to the lighting in the studio where you learned to melt glass, was it easy to work in? Were you able to see the flame properly? If you can’t remember what the lighting arrangement was like (or you didn’t get lessons in a studio) or you want to know where the studio got their lighting from it’s very easy to call up and ask for information or to ask online in a glass beadmakers forum or search Youtube and watch how other bead makers work.
Some glass changes colour under lights, there is a particular range of glass that Creation is Messy makes (more notably than any other manufacturer) that colour shifts significantly when exposed to fluorescent light, incandescent, fluorescent and daylight. For instance, pink and purple glass can look blue under fluorescent lighting and blues can look grey. Lighting is a crucial factor in your studio configuration, you do not want to pick up a rod of “grey” transparent glass only for it to be a transparent blue instead. Where possible, change globes first to “natural or daylight” tones before going the more expensive route of getting an electrician in.
CHOOSING THE RIGHT TORCH
My advice for how to choose a torch to suit you
When I started lampworking in 2006 there were only a few kinds of torches available in Australia. There was the Hot Head, the Nortel Minor Bench Burner and the National brand of torches. I learned on a Minor Burner and loved how fast glass melted. Personally, I don’t like the sound of a Hot Head when its running, its hissing drives me insane. I was pretty sure that I didn’t want that torch because everyone I spoke to seemed to curse the Hot Head for being too slow to melt glass. So I ended up with a Minor Burner. So is, this how you choose a torch? Just listen to everyone else? Well kind of.
The only real way to know what kind of torch suits you is to go and try them out. Unless you have a lot of contacts in the glass community or a lot of access to studios with loads of different torches, you won’t really get that opportunity. Watching other lampworkers on youtube may help your understanding of the different flames different brands of torches produce. It may also be helpful to ask question in online forums. However, the reality is, you have to buy a torch and try it out for a little while and work out your flameworking style. Torches can grow on you and you can outgrow them as well. So don’t buy something you feel compelled to use because you spent a mint on it. Sometimes its more cost effective to start at the cheapest end of the market and upgrade over time.
If you’re very new to bead making you might have had a go already on a Hot Head Burner. To see it in action click on the link to this wonderful video of Jenine Bressner making lampwork beads on a Hot Head Burner for Martha Stewart.
Hot Head Burner Outline
Pro’s
– Hot Heads are really inexpensive both up front and long term
– They are very easy to set up
– You can attach it to a gas container and flame on anywhere
– You can get a bracket to attach the torch to a bench for a more organised set up
– You can get glass to reduce easily (a little too easily)
– With practice you can strike “silver” and other “striking” glass
– It will teach you patience and heat control
So is that it? Well that depends on how you are going to approach flameworking. I personally find the hot head annoying and skipped straight to a dual fuel torch. Although some of the best artists around today started on a Hot Head before they invested more fully in equipment. So if you weren’t able to take a class and really want to get into making beads but don’t want to spend a lot of money on something you might not like, buy a Hot Head and see if you have the fortitude (read; patience) to go for a complete set up and a more expensive torch.
Hot Head Burner
– Very noisy once all connected
– I personally think they are smellier than a dual fuel torch
– Some colours can change in the gas rich environment, which means a Hot Head burner has its own learning curve
– It’s much slower to melt glass on a single fuel torch (melting Borosilicate COE33 is impossible, melting Bullseye Glass COE90 will induce coma, System96 can put you to sleep. Okay, my bias is showing. BE and S96 will melt on a HH, but COE104 glass is quicker, but its still a snore fest.
– It’s hard (not impossible) to strike glass. (Covering the vents with aluminium baking foil is a technique for getting the best striking effects from a Hot Head torch)
After hearing all the “faults” of a Hot Head, I thought wow, they sound terrible I’m not going to get one. So, I got a Minor Burner. I didn’t stop to ask if there might be other torches around that I could buy. I actually thought my only choice was between a Hot Head and a Minor (it never occurred to me that other brands were available online to buy from the US, I know, I can be really stupid sometimes). I bought a Minor because I’d learned on one, it was readily available and everyone said it was better than a Hot Head.
For me, in 2006 I went for the best torch I could afford and find. However today, my advice to a new lampworker would be a lot different. It should depend on your initial confidence and skill as a bead maker. Don’t buy an expensive torch now because of the long term. Buy a torch for your immediate skill level and just beyond. If you buy a torch that melts glass too quickly as a beginner you may find it all too hard and give up before you even properly start. Another thing to remember is that If you buy a dual fuel torch you are up for twice the cost. Not just in the actual price of the torch but in the fuel to run the torch as well.
I’ll be upfront about my initial skills, they sucked. I was really bad at heat control, I was terrible at going slow (and I burned out so many colours). I just wanted the glass to melt already! But I did know that I was in it for the long haul and the Minor Burner was something I would buy anyway after learning basic skills. If I had really been listening to Hot Head users I would have found some golden advice as a novice bead maker.
“You’re forced to go slow on a Hot Head and you really learn how glass melts. You learn where the “sweet” spots are in the flame. You learn that patience is necessary for getting the best out of your glass. You learn to control yourself and the Hot Head teaches you to be a more understanding glass artist.”
Everyone I know who started on a Hot Head no longer uses one, but they do credit it for helping them understand molten glass and being better bead makers once they got more powerful torches. I think if I had started on a Hot Head torch and worried about getting a kiln later I would never have bought a Minor Burner, I probably would have skipped straight to buying a much more powerful torch because I would have been confident to use one after I’d mastered basic skills with a Hot Head.

So about that Minor Burner? Well I still have it, but its in storage and no longer my primary torch. I have tried other torches and yes, just about every other torch out there on the market burns hotter. But hotter and faster isn’t necessarily better. Making glass beads isn’t a race. I get the best results when I slow down, adjust my flame to suit the nature of the glass I’m working with and take my time. That was a hard lesson to learn for an impatient person like me.
So even though I might have wanted a bigger and better torch when I learned that there were other brands out there, I knew I didn’t need one until my skills improved. Torches are like cars, in the sense that when you find the one you like to drive you’ll never want to drive anything else, until you outgrow it. Initially I hated my Minor as I couldn’t figure it out, but I have really learned to appreciate it as I became better at making beads and understanding flame chemistry.
Do what I didn’t do and go try a bunch of torches out before you buy your forever torch. If that isn’t possible, do a lot of research on Youtube and watch other torches in action.
Edit 2016: Since writing this blog post I’ve tried out a Mini CC, so I’m going to add that to my list of torches because it is very different from a Minor Burner but is around the same price range. I’m not reviewing any other torches because I’m not an expert on them. I do hope in the future that I can interview people who work on other torches for this blog.
Nortel Minor (Bench) Burner
Pro’s
– Even in Australia, this is the cheapest dual fuel torch on the market (anywhere from $250 to $350AUD, shop around)
– Its been around for a long time (since the 1950’s), so all the bugs have been ironed out and you can find good ones second hand at about the same price as a new Hot Head.
– Its a 7 port surface mix torch (the flame is hot enough for boro on the right oxygen concentrator) which is really easy to use and offers a variety of flame types.
– Surface mix torches mean that they don’t get hot to touch and they’re unlikely to build pressure and blow the nozzles off. (Anecdotally, I know other brands that are not surface mix that have done this).
– Its actually pretty portable. You can unbolt it and move it quickly without fuss or stress of “breaking” it.
– I’ve used mine for 10 years and I think they get better with age.
– It runs well on a 5lpm oxygen concentrator (I have mine hooked to a 10lpm because I was considering a Mega Minor Burner at one stage) and I prefer it on a 10lpm, although it never surpasses 8lpm.
– It is very forgiving if you don’t clean it, the carbon shoots out of the ports eventually. Mine hasn’t clogged once. (I’ve been told off for not cleaning it) Yes, yes, lampworking cardinal sin is to not clean the soot out of your torch regularly. I’m sorry! But honestly, I think cleaning torch ports is a lot like cleaning ears, leaven them alone and only get the stuff you can see.
– You can control the flame easily with the gas and oxygen dial on the torch. This means you can affect a pure neutral, striking and reducing flame instantly. The heat spots in the flame are very defined, which makes it easier to understand where the right spot is to melt glass fast, slow or keep it warm.
Con’s
– It can melt Boro but very, very slowly. Watching paint dry is more fun.
– COE 104 takes a long time to melt on a Minor Burner on a 5lpm oxygen con, and it’s much slower than soft glass on a more powerful concentrator or bottled oxy.
– You cannot get pinpoint accurate flames. You can lower the flame right down, but it will be never be pin prick sharp like what some other torches can achieve. This might be important to you further down the track as you refine your skills.
– Minors do not have a very wide radiant heat range. Which means long, wide and narrow beads need to be heated carefully. This also means that sculptural work is harder as bits and pieces sticking out will cool very fast. You will constantly be heat soaking.
– This also means that the “sweet” spot for doing stringer work in is a lot narrower and harder to find. However this is not only a Minor Burner issue, other brands of more powerful torches also have a narrow radiant heat spot.
– Draughts, air conditioning and very strong ventilation can pull, distort or blow the flame around too easily. (If I breathe hard the flame is all over the place, I find this annoying since I tend to breathe out hard when I’m trying to slow down. Again, that is particular to me.)
– When I ran mine on a 5lpm concentrator I wasn’t happy with the flame. The flame was much weaker than being on an oxy bottle and everything was reducing too easily. I was frustrated a lot and actually really hated the torch. (Again, this is particular to me, lots of other people run their minor burner on a 5lpm concentrator with no problems)

I’m not advocating for either torch in particular, what I am saying is; test drive a few torches with different set ups. The same torch on different oxygen set ups can behave differently. Tanked oxygen gives different results from a low or high powered oxygen concentrator. Even if you are thinking of upgrading from a Minor Burner or a Hot Head to something else, look around and test it out. Don’t just read a blog (irony!) or listen to someone else’s advice, get stuck into it and find out for yourself. For nearly six months I was dead certain I was going to buy either a GTT Cricket or a Nortel Mega Minor Bench Burner. I went out and bought the new oxygen concentrator first in preparation for a Cricket. Then, I connected the bigger concentrator to my Minor and I found that I loved the combination and didn’t bother purchasing the new torch (Edit 2019, I bought a new torch in 2015). That isn’t to say I’m not thinking about buying a new torch someday, just not right now. My priorities lie in getting an annealer rather than using my huge kiln all the time. (Edit 2019, bought a new kiln too)
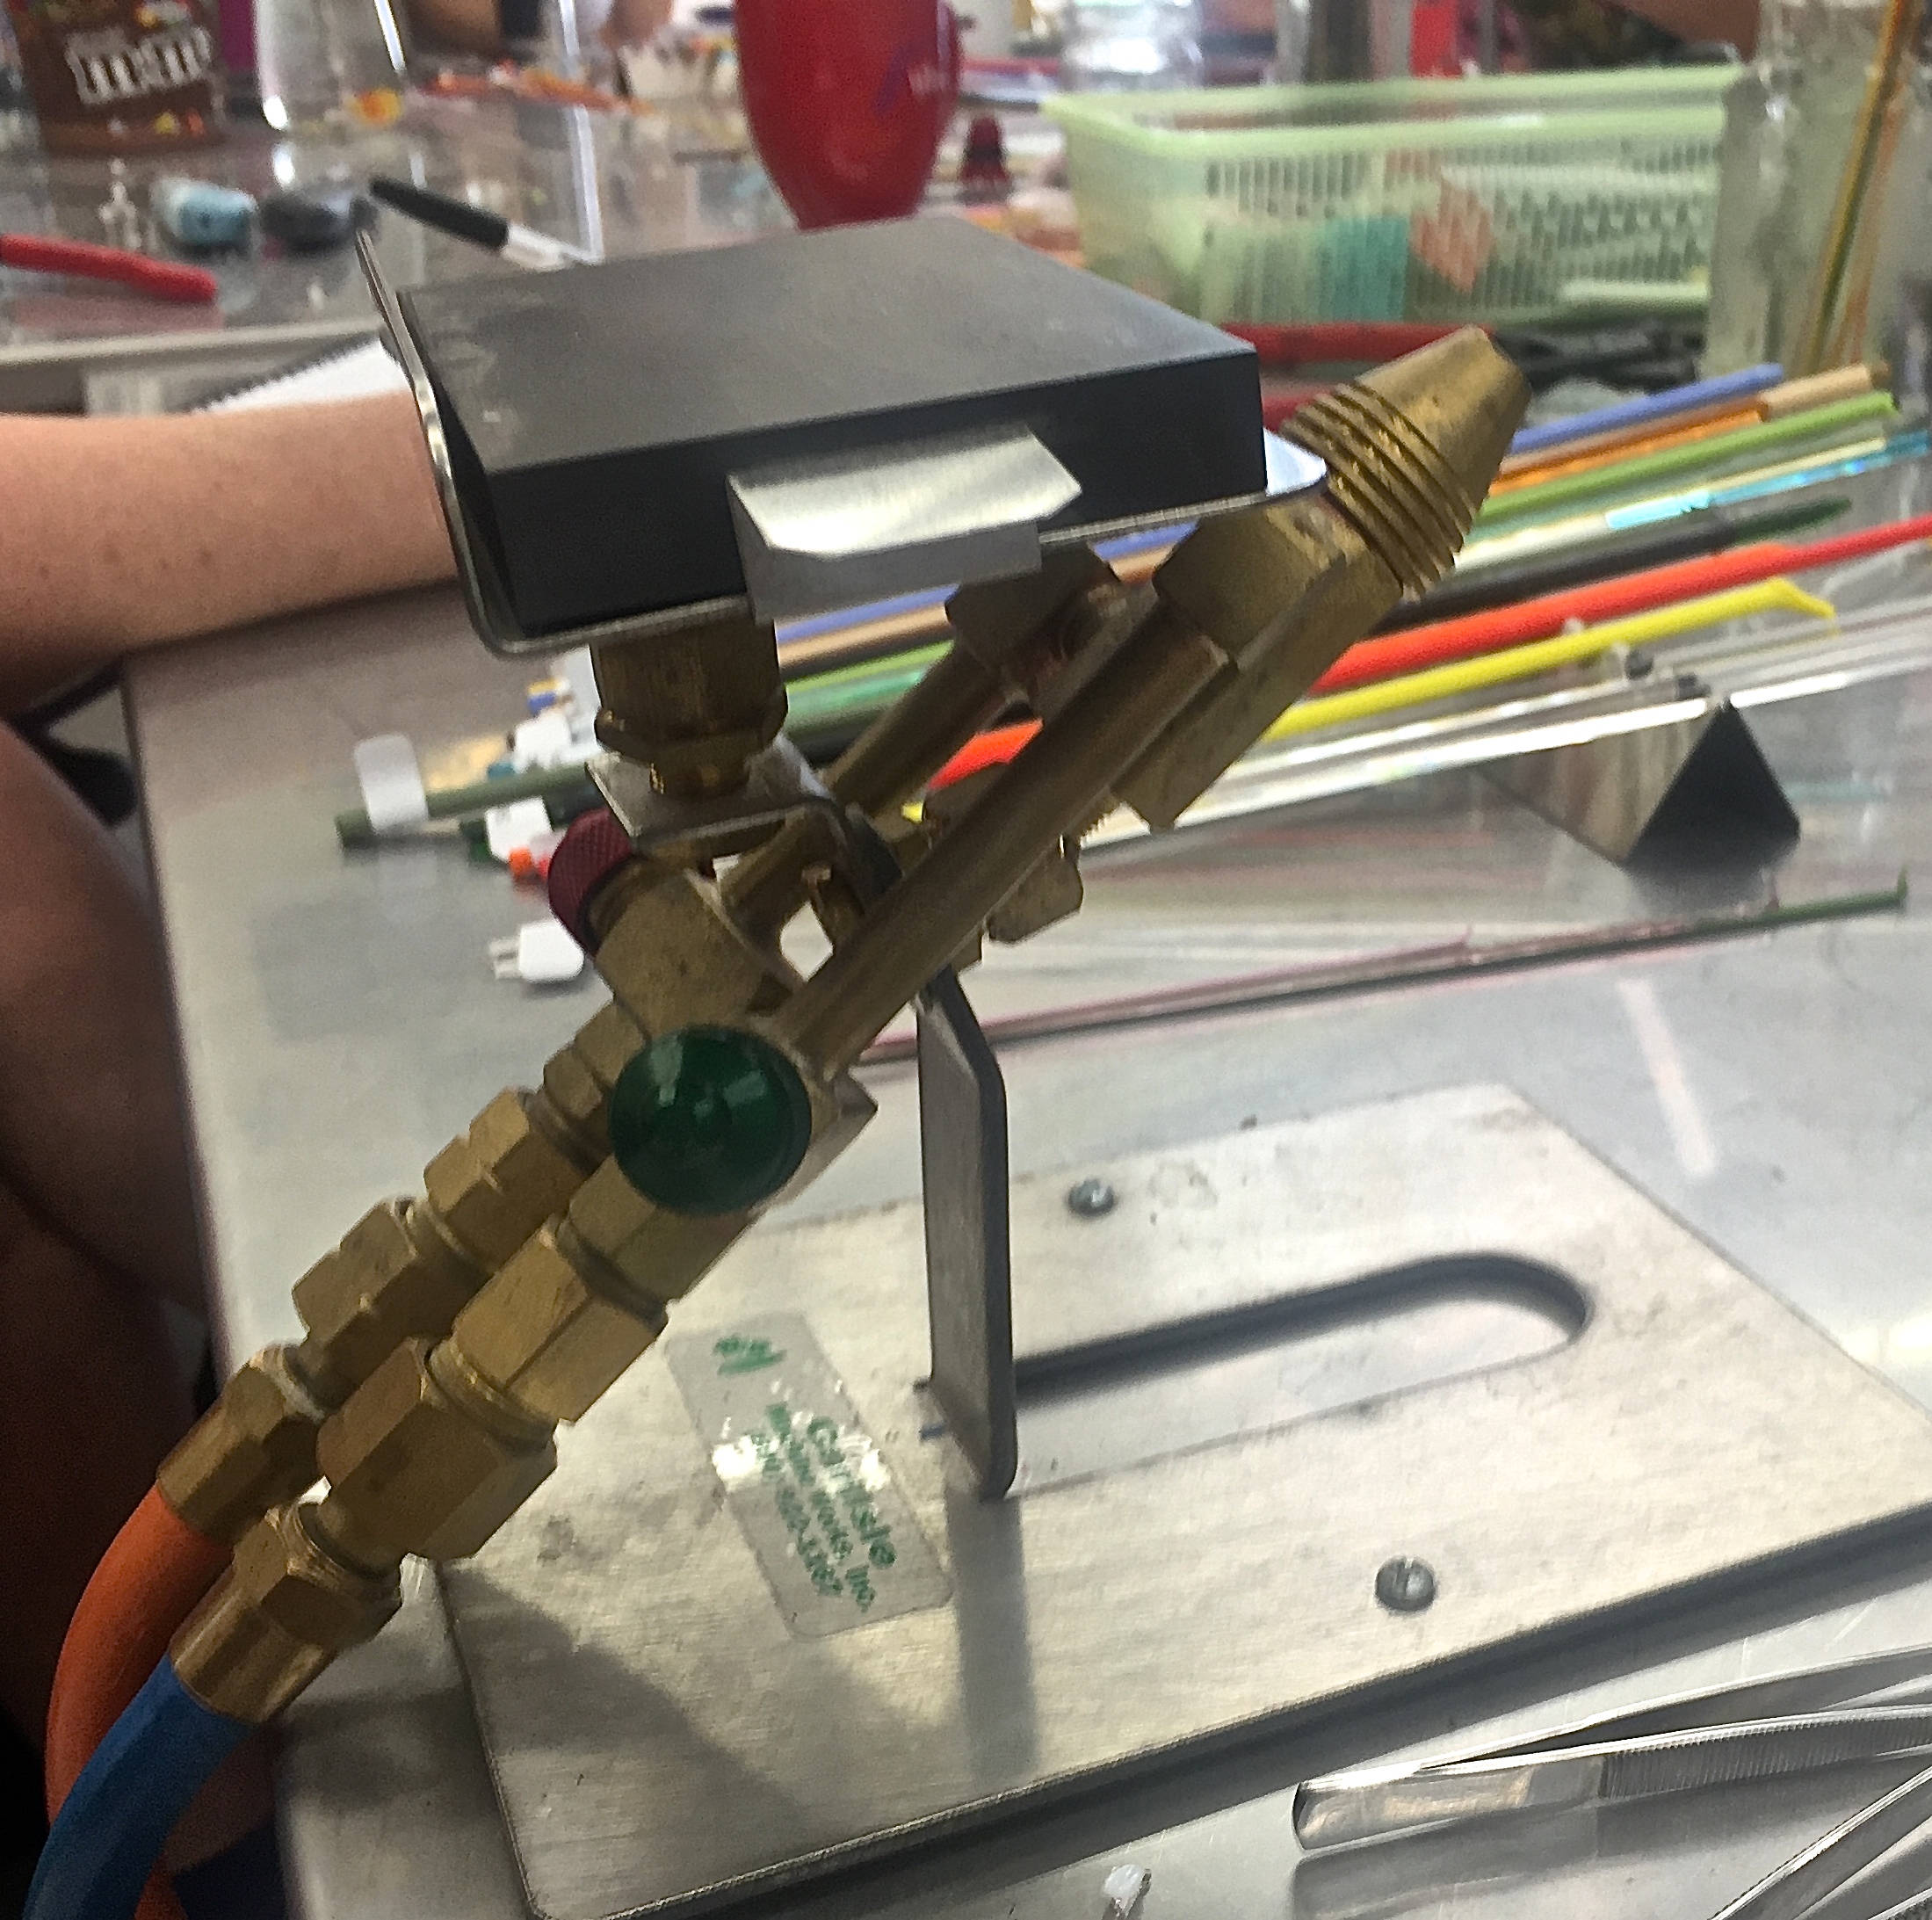
Carlisle Mini CC Torch
Since writing this blog post I’ve had time to work on a Carlisle Mini CC for about 8 hours over the weekend whilst doing a workshop with Kim Fields. Since developing my skills as a lampworker, my beads have come a long way from round. My preferred style is for long narrow beads or for very large barrel or tapered bicone beads. Usually my beads are hitting the 3in mark in length. Minor Burners do not have a wide radiant heat range, certainly not wider than about a half inch on either side of the flame. I find that I spend a lot of time rolling heat through my beads after almost any form of surface decoration because of the narrow radiant heat band. The Minor Burner is perfect for detailed beads up to 1.5in in width. My problem is, I like to make beads twice that size. I have good intentions of staying small, but it never works out. I also like to work as fast as I can and when I’m spending half my time rolling heat through my bead it means I’m not making beads at the speed I need to in which to actually make money or profit from. So this puts me into a depressing mood, because I have to scale back the size of my beads to work comfortably within the means of my torch. Whilst the flames temperatures between a Mini CC and a Minor are comparable there is a huge difference in flame style.
Carlisle Mini CC Torch
Pro’s
– The Mini CC when compared to the Minor Burner has a softer, “fluffier” flame, which means the radiant heat distribution is a lot wider and hotter.
– This wide radiant head band means the torch is very good for sculptural or very large detailed beads
– You don’t have to roll heat through larger beads like you do on a Minor
– Its very good for stringer application work, as the bead will not get cold as you’re focusing on one spot for detail.
– Cost wise, if you can find one in Australia they are comparable to a Minor Burner. If you can’t you will be spending a little more for it as shipping from the US is expensive.
– The flame is very easy to see even in bright light, I’m not sure why this is. Its much easier to use in broad daylight when compared to a Minor.
Con’s
– The Mini CC when compared to the Minor Burner is harder to see the heating zones, because it really is a fluffy flame you actually have to work quite close to the front of the torch which can effect more temperamental glass colours.
– That wide fluffy flame is impossible to pinpoint down without losing a lot of heat. The minor is very good at getting down to a very hot small flame.
– It runs better on tanked oxygen rather than an 8lpm Oxycon, although it is pretty good on a high end 10lpm oxycon when the purity level can be controlled.
– It is fuel hungry, which means that you will go through oxygen and gas a lot quicker than if you’re on a Minor Burner.
– It can melt boro slowly (so only just faster than a Minor Burner)
I have never made sculptural beads with any success on a Minor, my sticky outie bits crack far too quickly and easily, so I gave up completely thinking that I sucked at sculptural work. This was not the case with a Mini CC, it took me about forty minutes to get the hang of the torch. The first bead I made cracked in the kiln, but once I had understood the flame chemistry of this new torch there was not one problem with any of my beads cracking for the rest of the course. It dawned on me that I was a coping really well in a class that I was very challenged by because of the Mini CC. Then, I had my second epiphany, I could do sculptural work. Whilst my beads are nowhere near as impressive as Kim Fields I definitely did not suck as much as I thought I would and not once did Kim have to save any of my beads.
I love the flame on the Mini CC, that wide radiant heat band is an awesome thing to have for people like me who love making huge beads. However because the flame is so fluffy I felt that I didn’t have as much fine control over the flame as I do with the Minor. I felt that when it came down to it, I was actually working way too hot and that wasn’t something I could counteract easily by turning the torch down. Ideally I’d have a torch that combined the best flame chemistry of both torches.
QUESTIONS TO ASK YOURSELF WHEN UPGRADING YOUR TORCH
If you are looking to upgrade your torch from say the basic Hot Head, Minor or Mini CC consider your needs:
- Are you still working small?
- Do you want to melt glass faster?
- Are you interested in sculptural or off mandrel work.
- Are you considering moving from soft glass to Borosilicate?
- What sort of flame suits your bead making style?
List all your needs then explore the different torches online to understand what will tick all your boxes, or most of them.
For instance, after using the Mini CC I’m pondering if it will be useful to me to sidegrade to a Mini CC or upgrade to something like a 2 stud GTT Sidewinder? I don’t know, The Mini CC is good, but not exactly what I’m looking for and I’d want to try out the Sidewinder before I buy it and that means finding a lampworker who is at least in the same state as me to try it out. Then there is still that Mega Minor Burner I have my eye on, will that offer me the combination of the wide bushy flame of the Mini CC with the heat sink capacity of the Minor Burner??
Don’t know, I’ll procrastinate a bit more and wait for the right time. Edit 2019: I ended up buying a Mega Minor Burner in 2015 because it was being sold at a reasonable price second hand. However, the torch was pretty much new and hasn’t been broken in, so it hadn’t developed that wider band of radiant heat yet. I’ve put about a thousand hours on this torch and it has only just started to feel like some of the older torches I used at a glass blowing class with Davide Penso.
I’m the sort of person who would like to try before I buy because I don’t want to make an expensive mistake. Which you still make anyway because when you get a brand spanking new torch from the shop, it is never going to be like a torch that has seen some glass action. However, rorches really do get better with age.
CONNECTIONS TO OTHER ARTISTS
Lastly, a lot of people ask about where to go to find other artists to hire/borrow time at their torch? In Australia there are several groups connected via facebook which incorporate Australia, NZ and surrounding islands artists. You can contact me through my Facebook page to join the group which will put you in touch with other Aussie artists, some of whom might be in your vicinity. We’re a very social group despite the geographical distance between us, we have newbies, experienced, hobbyists and professional beadmakers. Unfortunately, there are no organised chapters of the International Society of Glass Beadmakers in Australia or New Zealand. In North America, the ISGB is your first port of reference to finding lampworkers in your area.
Whilst this isn’t the expert advice on torches you might have been looking for, it gives you an understanding of three types of torches that most lampworkers start out with. Another great resource to ask for opinions and advice from other lampworkers is the Lampwork Etc forums, this is largely for a North American audience, but I have found these forums friendly, helpful and overwhelmingly full of people who really want you to be the best artist you can.

